Overview of the Process
Spacing and alignment occur after initial preparation work has been completed, making this a critical step for anyone looking to become a piano technician. This includes tightening all action screws, ensuring hammers are squared and traveling properly, and completing any necessary cleaning or lubrication.
Mastering these foundational skills is essential in piano technician training, as it builds the consistency and precision required in professional piano servicing. Once these steps are done, you are ready to begin aligning the parts of the action and continue developing the core techniques needed to become a skilled piano technician.
The primary areas of focus in this lesson include:
- Hammers to strings
- Whippens to hammers
- Backchecks to hammer tails
- Jacks within their windows
- Jacks to knuckles
Each of these relationships plays a critical role in how energy is transferred through the action.
Required Tools
To perform this work effectively, you will need a few essential tools:
- Screwdriver
- Flange spacing tool
- Wire bending pliers
- Wedge mute
- Double-sided drop screw regulating tool
These tools allow you to make precise adjustments and verify your results as you move through the process.
Step 1: Spacing Hammers to Strings
Begin by aligning each hammer so it strikes the strings evenly. Use your flange spacing tool to pivot the hammer left or right as needed. Work methodically across the keyboard.
Before starting, ensure all flange screws are properly tightened so the adjustments hold. As you space the hammers, use a wedge mute and the una corda pedal to test your work. When the pedal is engaged, the hammer should shift enough to miss one string. This confirms proper alignment.
Step 2: Aligning Whippens to Hammers
Next, align the whippens so they contact the hammer shanks evenly and consistently. In most cases, this can be done by slightly loosening the whippen flange screw and repositioning the part.
If the alignment is significantly off, you may need to use traveling paper to adjust the position more precisely. This is more common when working with new parts.
Step 3: Spacing Backchecks to Hammer Tails
With the action positioned for access, press the keys from the back and observe how the backchecks engage the hammer tails. Adjust as needed using wire bending pliers.
Make small, controlled bends at the base and top of the wire to center the backcheck. Consistent alignment here ensures reliable catching and repetition.
Need more on regulating backchecks?
Step 4: Centering Jacks in the Window
Check that each jack is centered within its window. If a jack is off to one side, carefully bend it into position by supporting the base and applying gentle pressure at the top.
This step may require removing parts for access, depending on the action design. Even small misalignments can affect performance, so take the time to correct them.
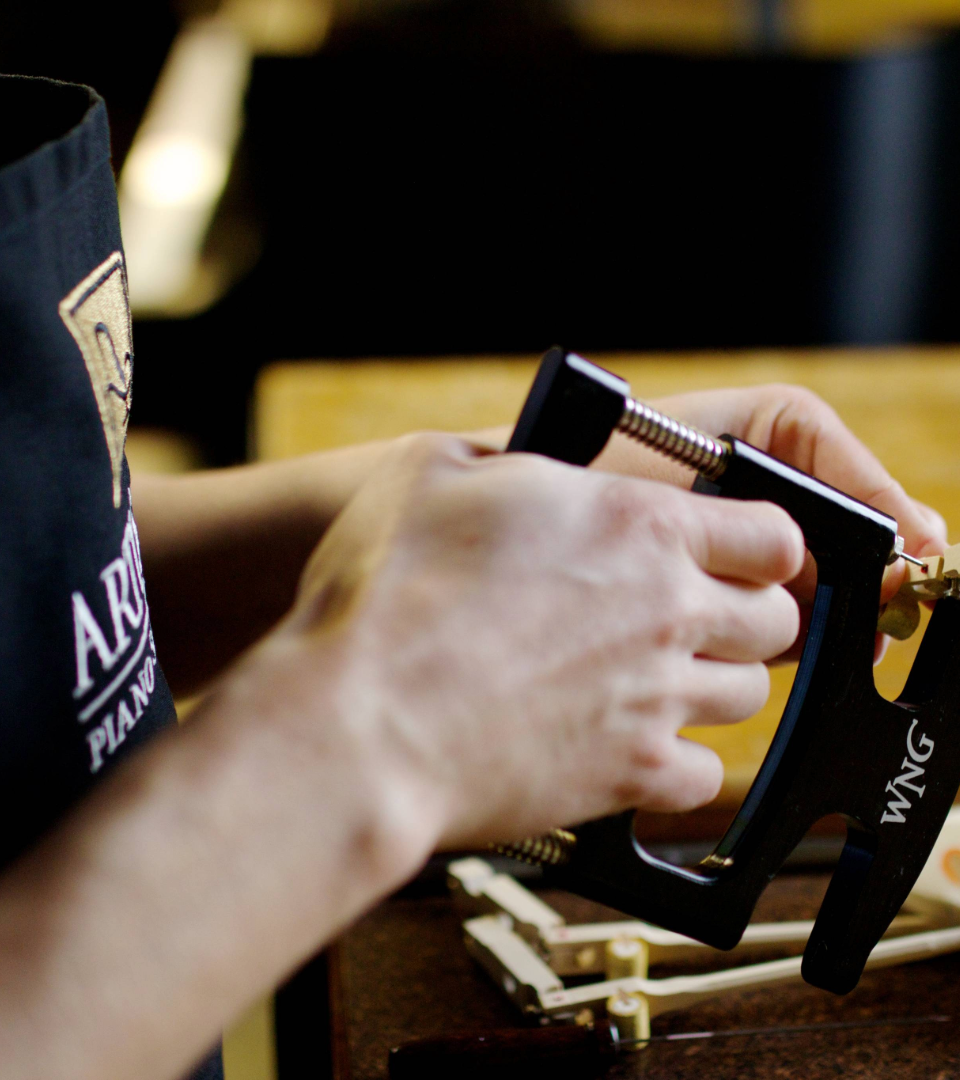
Step 5: Aligning Jacks to Knuckles
This is the final step in the alignment process and often the most detailed. Using your regulating tool, adjust the jack position so it meets the knuckle squarely.
Work at an angle that allows you to clearly see the contact point. Press the action as you adjust so you can observe how the jack aligns during movement. Proper alignment here ensures efficient energy transfer and smooth escapement.
Important Considerations
When working on older or heavily worn pianos, use discretion. Deep grooves in hammers or knuckles may limit how much adjustment is appropriate. In these cases, excessive repositioning can create new issues rather than solve existing ones.
This stage of regulation should follow any reconditioning work, such as hammer shaping or knuckle repair, to ensure the parts are ready for accurate alignment.