Today we’ve got a little bonus training for you straight from the workshop. One of our techs, Daniel, was out at a church working on a grand piano that had some serious action issues—misfiring notes, inconsistent repetition, and just weird behavior overall.
After taking a closer look, Daniel discovered the culprit: it was a backcheck issue - and these backchecks were completely mangled.
These poor backchecks had been chewed up and split by the hammer tails over time. Many were not only severely worn but fully broken. So, we're replacing both the backchecks and the wires using brand new Renner parts.
Spotting the Problem
When you look at the original backchecks, it’s obvious what went wrong. The hammer tails had essentially sliced right through the felt, and many of the wires were bent or damaged. We’re not just talking about wear and tear here—some of them were downright destroyed.
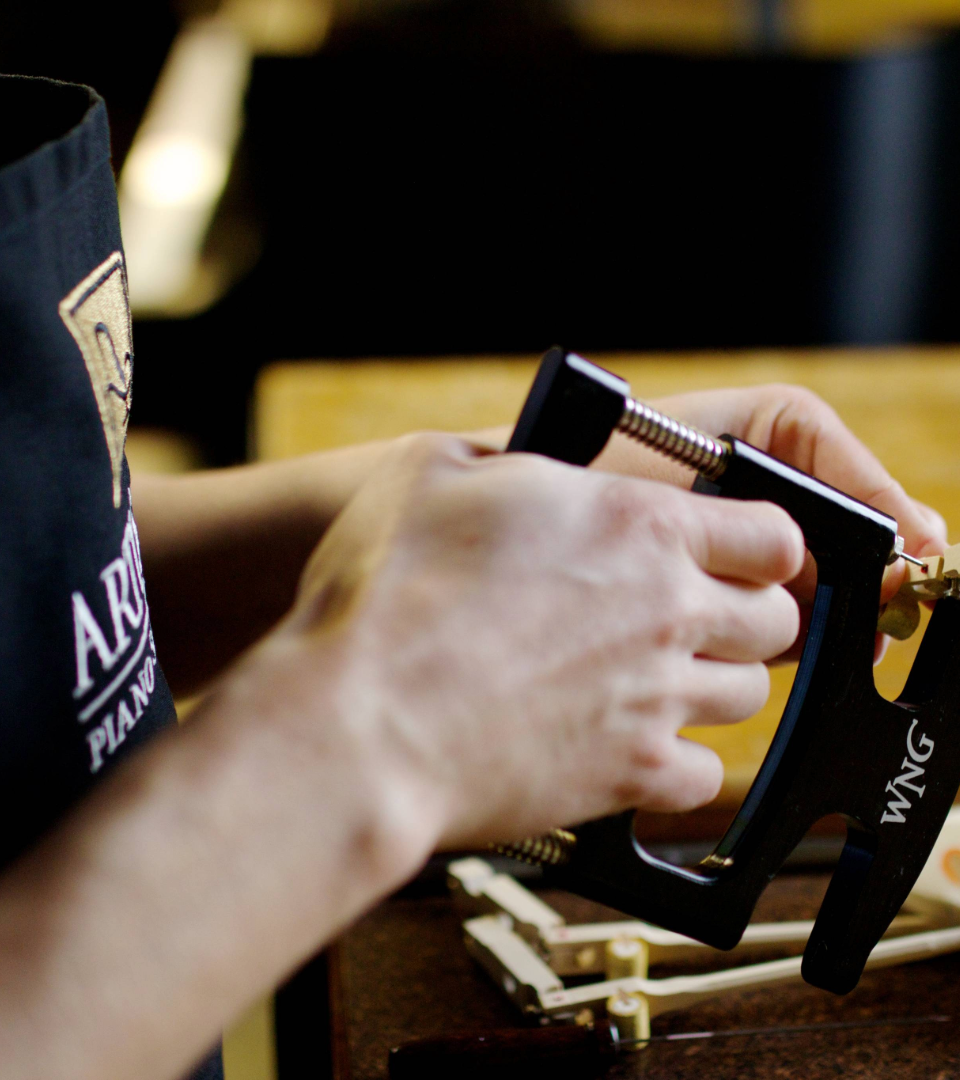
Tools You'll Need
Here’s a quick list of tools I use for this kind of job:
-
A vice grip (clamped to the bench)
-
Wire cutters
-
Small hammer
-
Flathead screwdriver
-
Pliers
You’ll want a stable setup—clamping the key securely to your bench is essential for control and safety.
Step-by-Step: Replacing the Backcheck and Wire
Clamp the Key:
I use a vice grip clamped to my workbench. It’s simple and effective, and I’ve used it for years.
Remove the Old Backcheck:
I usually kink the backcheck wire slightly and twist it out with pliers. If it’s stubborn, wedge a flathead screwdriver underneath and gently pry it out. These aren't threaded, so it should come out with a bit of patience.
Measure for Fit:
Take a reference note from the keyboard to determine how far down the new backcheck wire should go. You don't want to push it too far and risk blowing through the bottom of the key.
Trim the New Wire:
Once you've got your reference, snip the new wire down—usually about 1/8" to 1/4" shorter, depending on the original fit.
Install the New Backcheck:
Carefully tap it into place using your hammer, aiming to seat it flush with the existing indentation. Keep comparing it to your reference note to ensure it matches in height and angle.
Final Adjustments:
Once seated properly, double-check everything—make sure the wire isn’t too tall or leaning the wrong way. Then move on to the next one.
Final Thoughts
This is a fairly invasive repair, and for a full set, I usually budget around four hours. Once all the new parts are in, I’ll reassemble the action, square and space the backchecks to the hammer tails, and make sure everything’s aligned correctly.
Before wrapping up, I’ll also inspect the hammer tails themselves. In this case, they were sharp enough to cut through the backcheck felt—so I may need to gently file them down to prevent future damage.
If you want to go deeper into repairs like this, our piano repair course is designed to teach real-world diagnosis and hands-on action work—not just theory. You’ll learn how to identify problems like worn backchecks, or just how to align, space and regulate a grand piano, choose the right repair approach, and restore reliable performance with confidence. This is the kind of training that prepares you for the instruments you’ll actually see in homes, churches, and schools.