This lesson focuses on key easing, a foundational skill every piano technician should know as it comes up a lot when you are out in the field.
Whether you’re just starting your journey or refining advanced techniques like piano regulation or voicing, this training will help you develop the confidence to succeed as a piano technician.
Why Key Easing Matters
-
How friction affects:
-
Touch
-
Repetition
-
Player control
-
Common symptoms of poor key easing:
-
Sluggish return
-
Inconsistent feel
-
Clicking or “death knock”
-
Goal: Freely moving keys without sloppiness
Preparing for Key Easing
-
Removing the action:
-
Upright vs. grand considerations
-
Why access to the keys is essential
-
Opportunity tasks while keys are out:
-
Cleaning
-
Key pin inspection
-
Lubrication
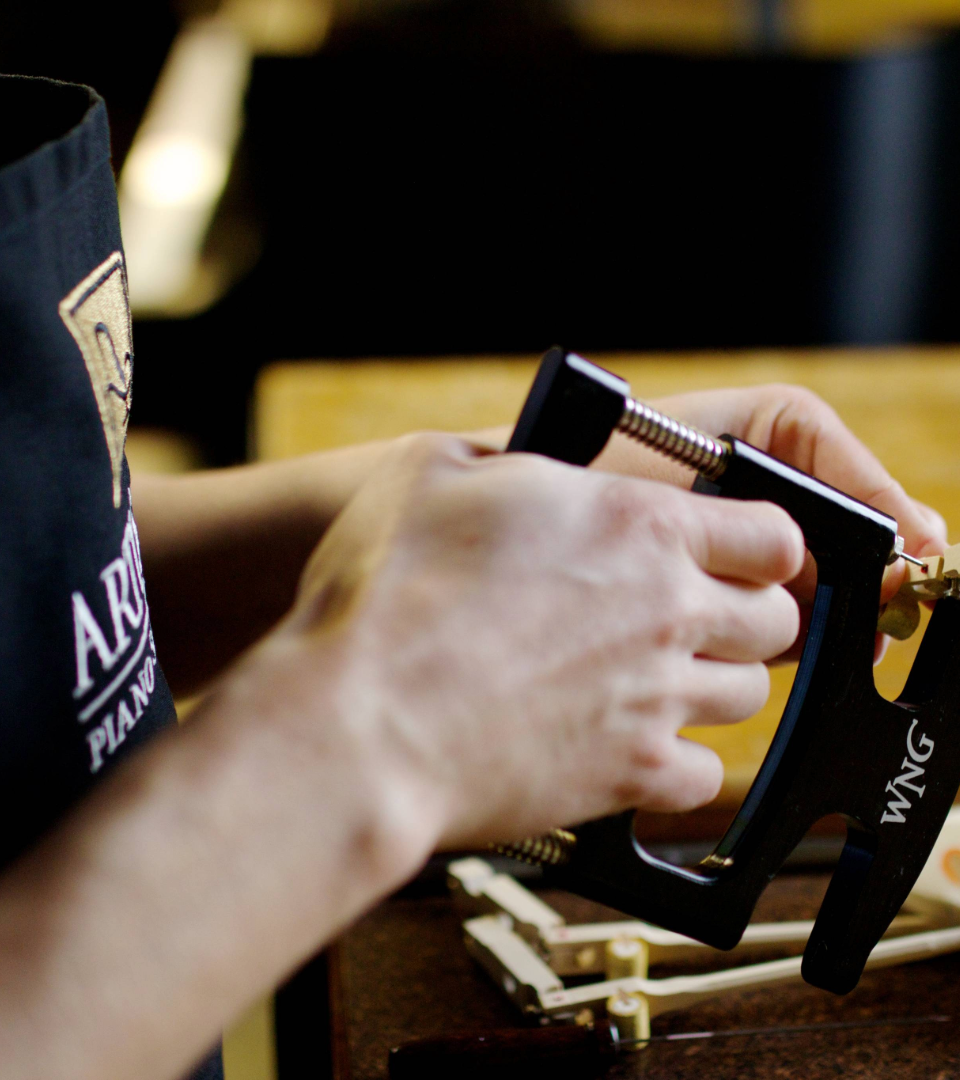
Key Easing Tools Overview
-
Balance rail hole easers
-
Why oval-shaped tools matter
-
Benefits of combination / tapered designs
-
Bushing easing pliers
-
Standard pliers vs. parallel pliers
-
Safety and over-easing risks
-
Wedge-style combination tools
-
Speed and efficiency for full keyboards
-
Dealer prep vs. field work use cases
-
Key easing irons
-
When heat is useful
-
Advantages of consistency for large jobs
Balance Rail Hole Easing Technique
-
Why to ease from the top, not the bottom
-
Preserving correct hole geometry
-
Step-by-step process:
-
Tool orientation (flat of the oval aligned correctly)
-
Gentle side-to-side “massaging”
-
Testing key drop and return
-
Proper test for fit:
-
Key should fall freely
-
No front-to-back wobble
-
Warning signs of over-easing:
-
Rapid drop
-
Audible clicking
-
Excessive motion
Fixing Over-Eased Balance Rail Holes
-
Traditional repair method:
-
Slotting, shimming, sanding, re-easing
-
Modern glue-sizing method:
-
Wood glue + water slurry
-
Swelling and stabilizing wood fibers
-
Re-easing after drying
-
When multiple passes may be needed
-
Long-term reliability of the method
Balance Rail Bushing Easing
-
Why balance rail bushings can be slightly freer than front rail
-
Using a key easing iron:
-
Temperature awareness
-
Avoiding charring or burning
-
Desired result:
-
Very slight side-to-side play
-
No audible noise
-
Smooth key travel
Front Rail Bushing Easing
-
Why front rail bushings require more precision
-
Acceptable movement:
-
Minimal side play
-
No knock
-
Stable feel under fast passages
-
Demonstration of:
-
Correct easing
-
Intentional over-easing (what not to do)
-
Player perspective:
-
Loss of control
-
Sloppy feel during dynamic playing
Fine Adjustments & Micro-Corrections
-
Using a single needle to:
-
Fluff compressed felt
-
Correct slight over-easing
-
Where this technique is also useful:
-
Damper guide rail bushings
-
When to use needle work vs. chemical swelling
This is just one step in overall Piano Regulation.
Want to become a piano technician and build real, hands-on pianocraft skills?
At The Artisan School, we teach Pianocraft the way it’s actually used in the field.
Next, let's learn how to regulate Backchecks!